

Understanding the Hollow Wall Anchor Tool and How It Works
By Western Wholesale Supply
At its core, a hollow wall anchor tool (often called a setting gun or a cavity anchor tool) is a mechanical lever system. While these anchors—sometimes referred to as “molly bolts” or interset fixings—can technically be installed by tightening the screw with a manual screwdriver, the results are often inconsistent. The tool works by gripping the head of the screw and pulling it toward you while holding the flange of the anchor firmly against the wall.
This “pull and collapse” action forces the metal legs behind the plasterboard to fold outward in a mushroom shape. This creates a large surface area that grips the back of the board, distributing weight much more effectively than a standard plastic plug.
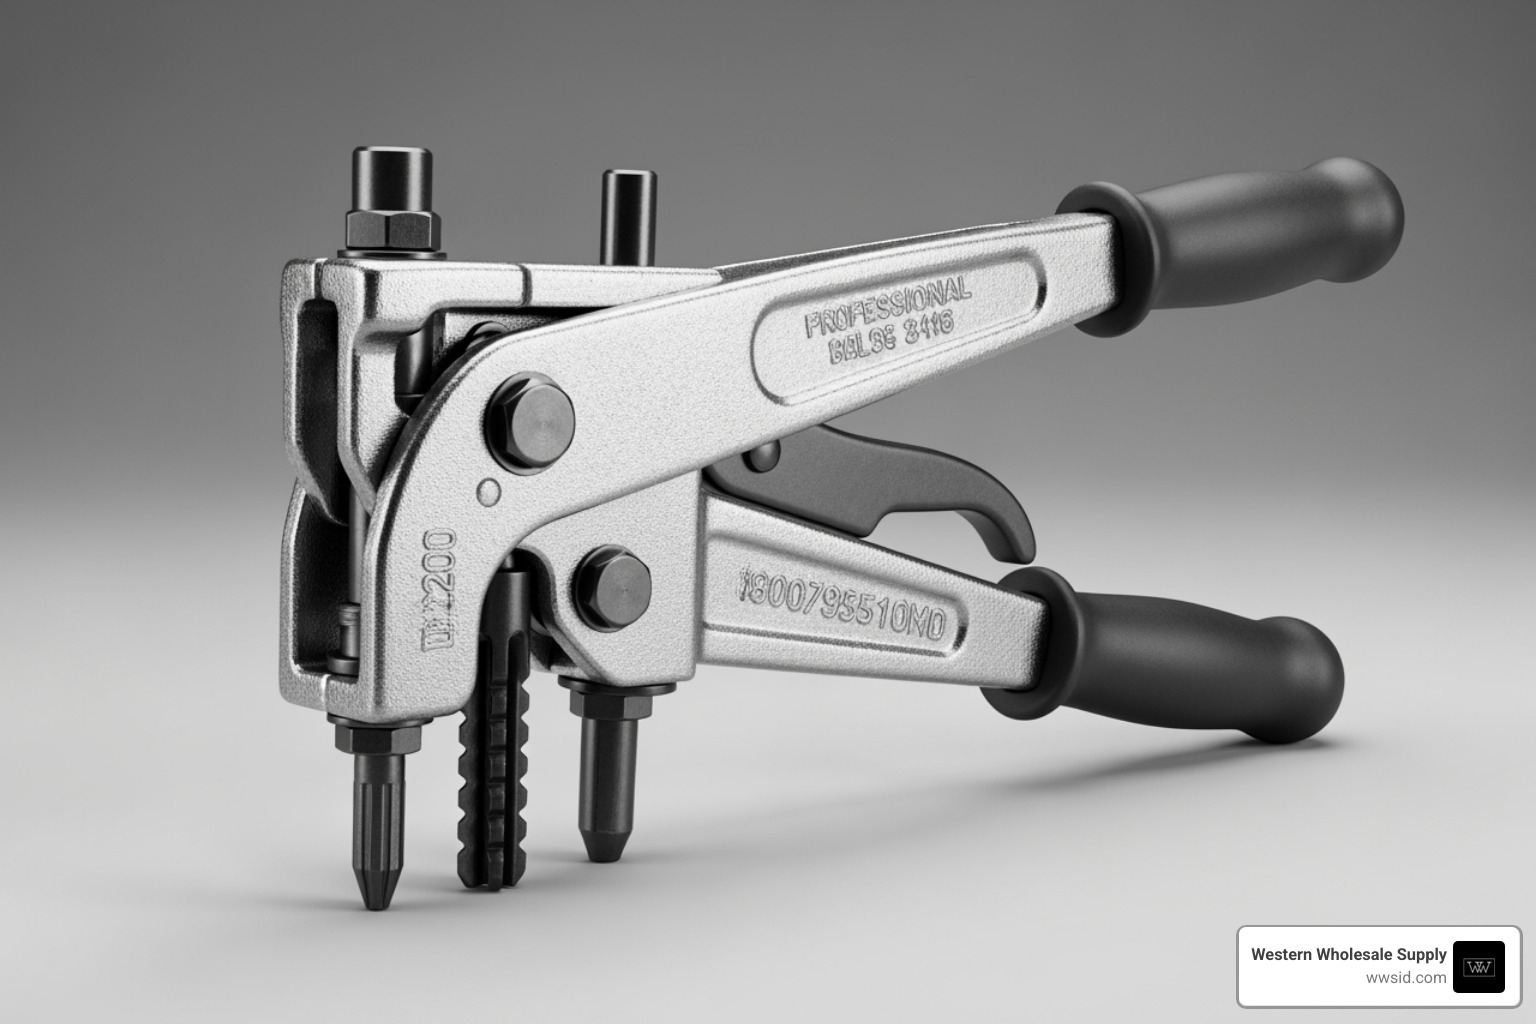
When you use a high-quality tool like the Hollow Wall Anchor Tool | DEWALT, you are taking advantage of features like anti-rotation spikes. These small teeth on the anchor’s flange sink into the face of the drywall, preventing the whole unit from spinning while the tool does its work. For pros in Eastern Idaho and Western Wyoming, having reliable Tools Fasteners on hand means the difference between a five-minute job and a ruined sheet of drywall.
Benefits of Using a Dedicated hollow wall anchor tool
You might wonder if you really need another tool in your bag. The answer is usually a resounding “yes” if you value your sanity and your walls. Using a dedicated hollow wall anchor tool offers several distinct advantages:
- Prevention of Spinning: When you use a screwdriver, the torque often causes the anchor to spin, chewing up the plasterboard and making the hole too large to hold the fixing. The setting tool applies linear pull rather than rotational force.
- Professional Finish: Tools like the DEWALT DFM4401000 feature detachable heads that allow for easy replastering if you ever need to achieve a perfectly smooth finish later.
- Consistency: A tool ensures the legs collapse uniformly every time. You can see this in action in this guide on How to use a hollow wall anchor setting tool.
- Maximum Fastener Strength: By achieving a “perfect expansion,” you ensure the anchor is reaching its full rated load capacity.
- Ergonomics: Squeezing a handle is much easier on your wrists than fighting the resistance of a screw, especially when installing dozens of anchors for a commercial project.
Selecting the Right hollow wall anchor tool for Your Project
Not all tools are created equal. When browsing our inventory at Western Wholesale Supply, look for these specific features:
- Size Compatibility: Most standard tools are designed for M4, M5, and M6 anchors. Ensure the tool you choose can handle the diameter of the fasteners you’ve purchased (like those from Grabber or Brighton Best).
- Head Design: An Hollow Wall Anchor Setting Tool – Lawson Products often features an offset alloy steel head. This is a lifesaver when you are trying to set an anchor in a tight corner or near a ceiling track.
- Grip and Material: Look for cushion-grip handles. If you’re working in a cold warehouse in Jackson, WY, or Rexburg, ID, a bare metal handle is the last thing you want to hold all day.
- Durability: For commercial contractors, check out The Pros Checklist for Commercial Construction Fasteners and Supplies to ensure your tool kit is up to the rigors of the job site.
Step-by-Step Guide to Professional Anchor Installation
Proper installation is a science. In May 2026, the standards for cavity fixings remain focused on precision. Follow these steps to ensure your hardware stays where you put it.
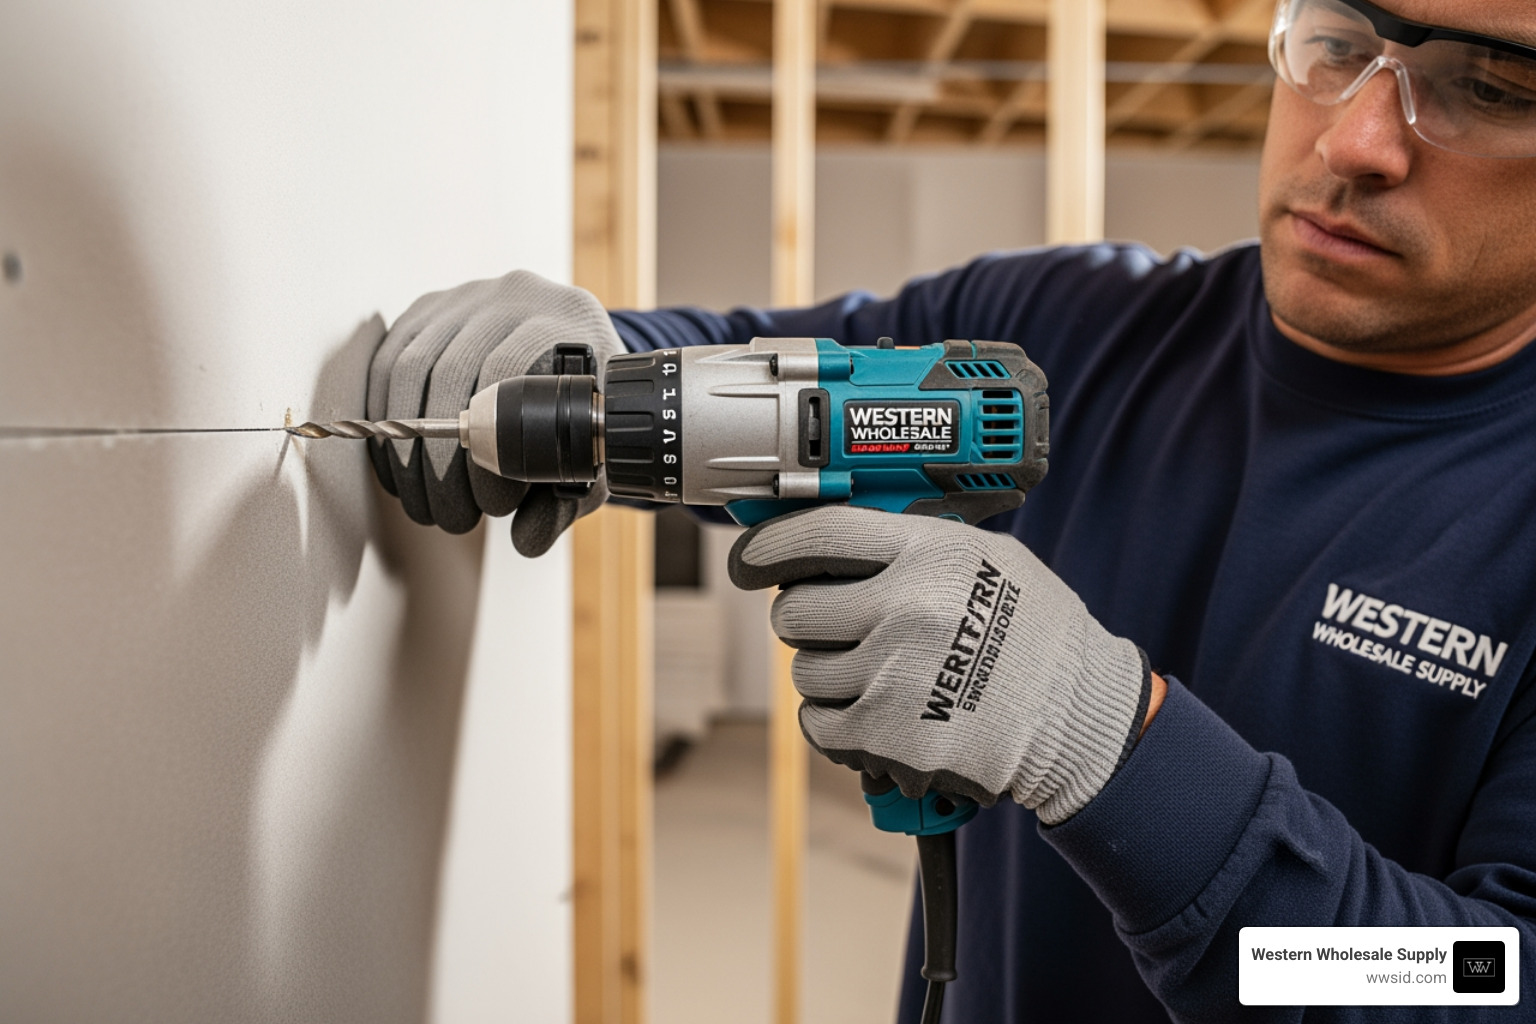
Step 1: Drill the Pilot Hole Using a drill bit that matches the diameter of the anchor body (not the screw), drill a clean hole. If the hole is too large, the anti-rotation spikes won’t catch; if it’s too small, you’ll damage the board trying to force the anchor in.
Step 2: Insert the Anchor Push the anchor into the hole. You may need to give it a light tap with a hammer to ensure the flange is flush against the surface and the teeth are embedded in the plasterboard.
Step 3: Prepare the Screw Unscrew the bolt about 3–5mm. This creates the gap needed for the hollow wall anchor tool to “bite” onto the screw head.
Step 4: Engage the Tool Slide the nose of the setting tool over the screw head. Ensure the tool is sitting square against the wall.
Step 5: Squeeze and Set Squeeze the handles firmly. You will feel resistance as the legs collapse behind the wall. The Timco Hollow Wall Anchor Setting Tool | Professional Cavity & Plasterboard Fixing Tool – Always First 4 Fixings is known for providing excellent tactile feedback, letting you know exactly when the anchor is fully set.
Step 6: Remove the Screw Once expanded, remove the screw entirely. Your anchor is now a permanent threaded “nut” inside the wall.
Step 7: Fix Your Item Place your bracket or fixture over the hole and reinsert the screw, tightening it firmly. For more technical details on various fasteners, consult the Idaho Fastener Handbook from Roofing Nails to Masonry Anchors.
Common Mistakes to Avoid with a hollow wall anchor tool
Even with the best gear, things can go wrong. Watch out for these pitfalls:
- Over-crimping: Squeezing too hard after the anchor is set can snap the screw or strip the internal threads. Stop when you feel significant resistance.
- Incorrect Hole Size: This is the #1 cause of failure. Always check the anchor packaging for the specific drill bit size required.
- Crumbling Substrates: If the plasterboard is damp or old, the anchor may simply pull through. Ensure you are working with sound materials, like CertainTeed drywall or Durock cement board.
- Misaligned Angles: If the tool isn’t 90 degrees to the wall, the anchor will set crooked, making it impossible to thread the screw back in.
Material Compatibility and Load Capacities in 2026
As of May 2026, we continue to see advancements in wallboard technology, but the physics of load distribution remains constant. The weight an anchor can hold depends heavily on the substrate.
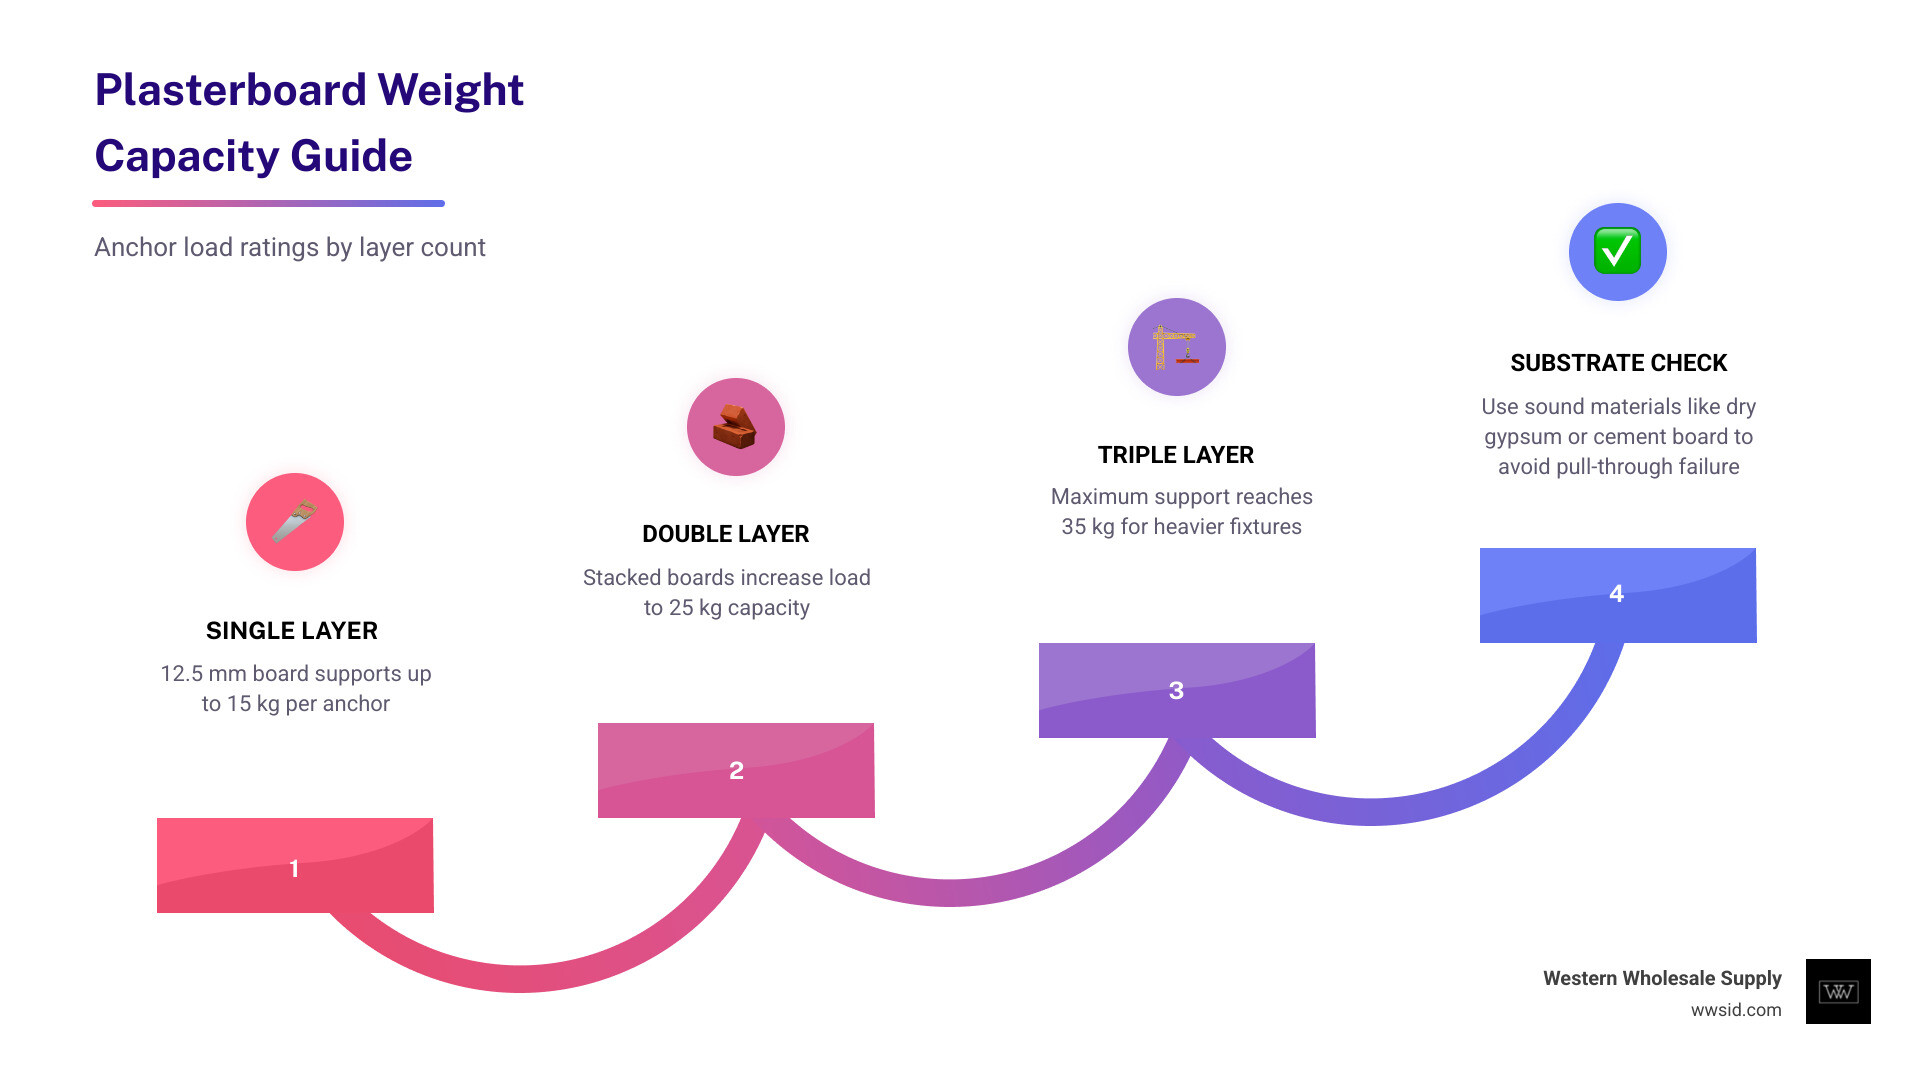
- Single Plasterboard (12.5mm): Can support roughly 15 kg per square meter.
- Double Plasterboard: Increases capacity to 25 kg.
- Triple Wallboard: Reaches up to 35 kg.
For high-performance acoustic environments using CertainTeed systems or Quietrock EZ Snap, these anchors provide a reliable way to mount equipment without compromising the wall’s integrity. When working with Durock cement board in bathrooms or kitchens, ensure your anchors have a long-lasting anti-corrosion treatment to handle the moisture.
Suitable Substrates for Cavity Anchors
While primarily designed for plasterboard, a hollow wall anchor tool is versatile. According to Hollow Wall Anchor Setting Tool – Lawson Products, these tools and fixings are also suitable for:
- Chipboard and Plywood
- Hollow Brick and Cavity Blocks
- Drywall and Gypsum
- Thin Veneer and Hardboard
For medium-duty applications like radiators or kitchen cabinets, these substrates provide enough “meat” for the anchor to grip once expanded.
Frequently Asked Questions about Hollow Wall Anchor Tools
Can I use a hollow wall anchor tool on solid masonry or concrete?
No. These tools and anchors are designed specifically for “hollow” spaces where the legs have room to expand. For solid concrete or brick, you should use masonry bolts or expansion plugs.
What is the difference between a setting tool and using a standard screwdriver?
A setting tool pulls the screw linearly, while a screwdriver turns it. The pulling action is much safer for the wallboard, prevents the anchor from spinning, and ensures a more uniform collapse of the metal legs.
Are hollow wall anchors reusable once they have been expanded?
Generally, no. Once the metal legs are crimped behind the wall, they cannot be “un-crimped” easily. The screw can be removed and replaced, but the anchor body stays in the wall permanently.
Conclusion
Whether you’re a DIY enthusiast in Idaho Falls or a commercial contractor in Twin Falls, the hollow wall anchor tool is an essential part of any toolkit. It turns a potentially frustrating task into a quick, professional, and secure installation.
At Western Wholesale Supply, we pride ourselves on being more than just a warehouse. As a veteran-owned, third-generation family business, we’ve spent over 60 years serving Eastern Idaho and Western Wyoming. From CertainTeed ceiling tiles to Grabber fasteners, we provide the quality materials and expert advice you need to get the job done right the first time.
Ready to gear up for your next project? Contact Western Wholesale Supply today or visit one of our locations across the region for reliable, on-time delivery and service you can trust.
