

What Is Partition Wall Framing? A Beginner’s Guide
Partition wall framing is the process of building interior walls that divide space inside a building without supporting the structure above. Here is a quick overview of the basics:
| Topic | Key Facts |
|---|---|
| What it is | Building non-load-bearing interior walls to divide space |
| Common stud sizes | 2×4 (3.5″ actual) or 2×6 (5.5″ actual) |
| Standard stud spacing | 16″ or 24″ on center |
| Typical wall height | 8–9 ft (range: 3–12 ft) |
| Finished wall depth | 4.5″ (2×4) or 6.5″ (2×6) including drywall |
| Main components | Soleplate, top plate, studs, headers, king/jack studs |
| Key rule | Must not accidentally carry structural loads from above |
These walls do not hold up your roof or floors — but they still need to be built correctly. A poorly framed partition wall can crack, bow, or worse, accidentally pick up structural loads it was never designed to handle.
Most contractors and DIYers run into the same core challenges: choosing the right lumber size, spacing studs correctly, framing door openings, and making sure the wall does not bind against the floor or roof framing above it. This guide walks you through all of it, step by step.
At Western Wholesale Supply, we have helped contractors across Eastern Idaho and Western Wyoming source the right materials for hundreds of partition wall framing projects. We see these walls go up every day, so the guidance here comes straight from real job-site experience.
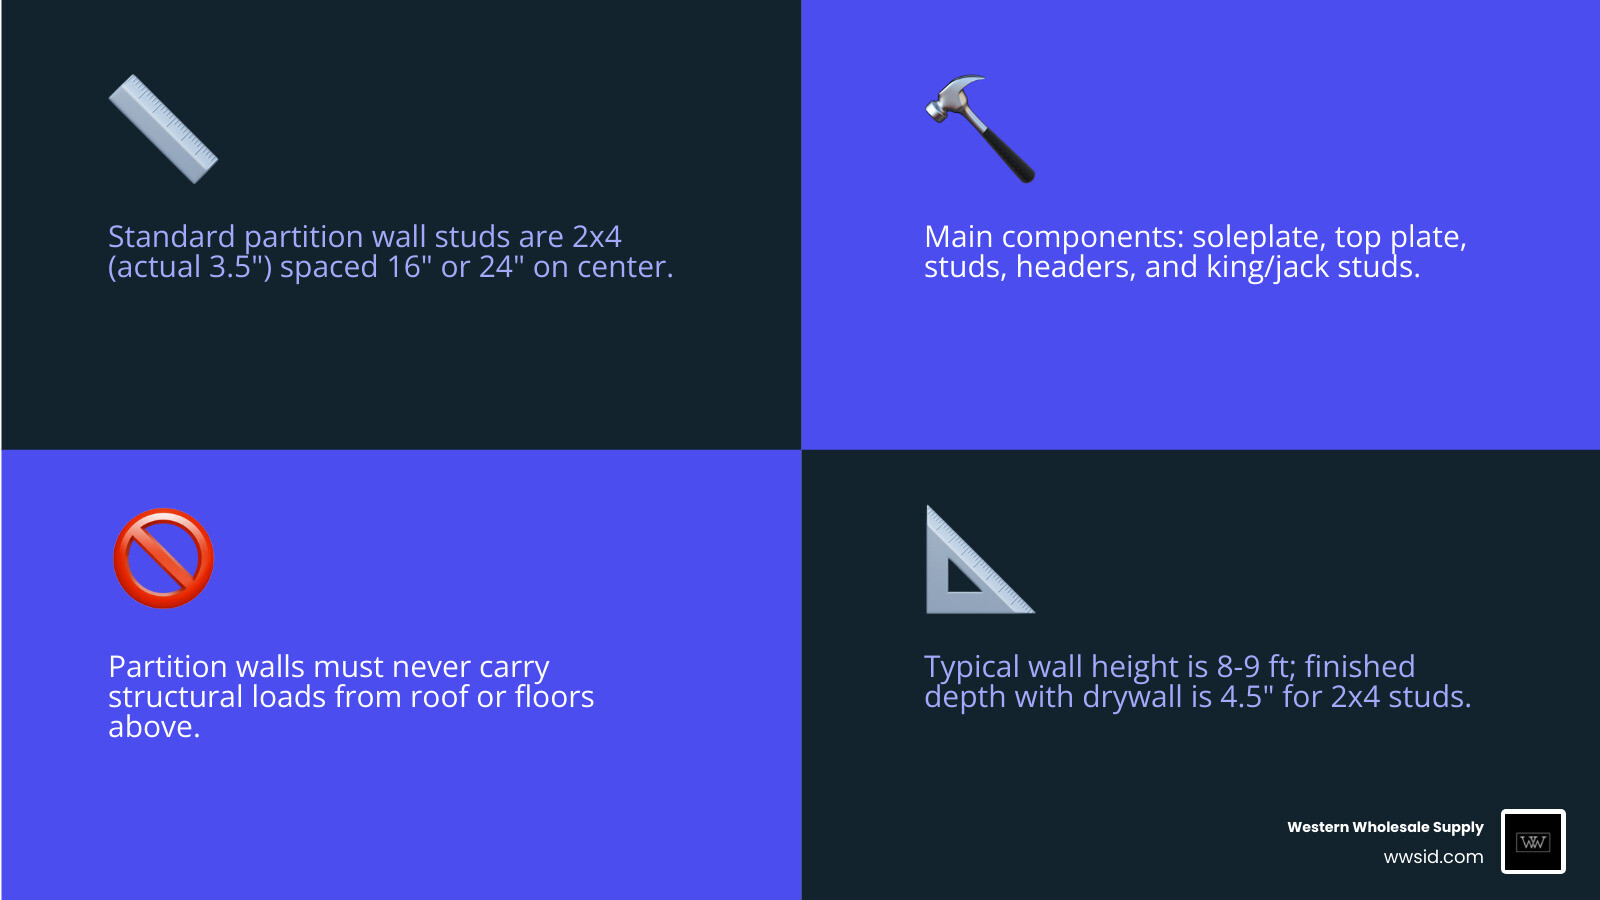
Quick Partition wall framing definitions:
Understanding Partition Wall Framing: Load-Bearing vs. Non-Load-Bearing
Before you pick up a framing nailer or cut a single stud, we must establish the most critical rule of residential and commercial anatomy: is the wall load-bearing or non-load-bearing?
A load-bearing wall is a structural element designed to transfer vertical loads from the roof, ceiling, or upper floors down to the foundation. If you remove or alter a load-bearing wall without proper temporary support and a beam replacement, you risk structural collapse.
A non-load-bearing partition wall, on the other hand, is completely self-supporting. Its only job is to divide a large open space into smaller rooms, hold up its own weight, and provide a surface for hanging drywall, such as Drywall or high-performance panels. Because we do not rely on these walls for structural support, they can be rearranged, added, or removed in the future without risking the home’s structural integrity.
To identify whether an existing wall is load-bearing, we look for a few clues:
- Orientation to Joists: Load-bearing walls almost always run perpendicular (at a 90-degree angle) to the floor or ceiling joists above them.
- Underlying Support: Look directly below the wall in the basement or crawlspace. If there is a beam, concrete foundation wall, or support column directly beneath it, it is likely load-bearing.
- Headers: Structural walls feature heavy, solid lumber headers over door and window openings to distribute overhead weight.
Standard Dimensions and Spacing for Wood Partition Walls
When we design a partition wall, using the right lumber dimensions ensures the finished wall integrates seamlessly with standard doors, electrical boxes, and trim.
Wood partition walls are typically constructed using pine, spruce, or fir studs. The standard nominal sizes we use are 2×4 and 2×6. However, “nominal” dimensions do not reflect actual physical measurements:
- A nominal 2×4 stud actually measures 1.5 inches by 3.5 inches.
- A nominal 2×6 stud actually measures 1.5 inches by 5.5 inches.
Once we install 1/2-inch drywall on both sides of a 2×4 framed wall, the finished wall depth is exactly 4.5 inches. For a 2×6 wall, the finished depth is 6.5 inches.
By building code, we can also use 2×3 studs (which measure 1.5 inches by 2.5 inches) for interior non-bearing walls, but only if the wall is no taller than 10 feet and the studs are spaced every 16 inches. However, we generally advise against 2×3 studs because standard electrical boxes and standard pre-hung door jambs are too deep to fit flush in a 2×3 wall cavity.
To calculate exactly how much lumber you need to buy for your project, take a look at our complete guide on How to Calculate Lumber for Wall in 30 Days.
| Stud Nominal Size | Actual Stud Dimensions | Maximum Wall Height | Standard Spacing Options | Finished Wall Depth (with 1/2″ Drywall) |
|---|---|---|---|---|
| 2×3 | 1.5″ x 2.5″ | 10 feet | 16″ on center only | 3.5 inches |
| 2×4 | 1.5″ x 3.5″ | 14 feet (non-bearing) | 16″ or 24″ on center | 4.5 inches |
| 2×6 | 1.5″ x 5.5″ | 20 feet (non-bearing) | 16″ or 24″ on center | 6.5 inches |
Standard Stud Spacing in Partition Wall Framing
We space standard studs either 16 inches or 24 inches “on center” (o.c.), which means measuring from the center of one stud to the center of the next.
Spacing studs 16 inches on center is the industry gold standard. It provides a incredibly rigid wall, prevents drywall sagging, and makes it easy to hang heavy objects later. Spacing studs 24 inches on center is permitted by code for non-load-bearing 2×4 walls, but it requires thicker 5/8-inch drywall or extra blocking to prevent the drywall from flexing when pushed.
Step-by-Step Guide to Layout and Basic Partition Wall Framing
Laying out your new wall is the most important part of the job. If your layout is off by even a fraction of an inch, your wall will not be plumb, and hanging drywall or installing pre-hung doors will become an absolute nightmare.
Before you begin, gather the right tools. We highly recommend using professional-grade hand tools from Hyde and Marshalltown to ensure clean cuts and precise measurements. For fastening, always choose high-quality Grabber fasteners to keep your joints rock-solid.
Here is how to lay out and prepare the space:
- Snap Your Layout Lines: Clear the floor area. Measure out from an existing parallel wall at both ends of where your new wall will go. Mark these points. Snap a chalk line between them.
- Pro Tip: Use white chalk instead of red or blue chalk for indoor layouts. Red and blue chalks contain permanent dyes that can bleed through carpets, paint, or hardwood finishes.
- Transfer to the Ceiling: Use a plumb bob or a self-leveling laser level to project your floor lines directly up to the ceiling. Mark the ceiling and snap a matching chalk line.
- Handle Existing Finishes: If you are remodeling an existing room, you have to decide whether to cut back the existing drywall and flooring or frame directly over them.
- The Code-Compliant Way: Cut back a strip of ceiling and wall drywall to expose the underlying joists and studs. This allows you to attach your new plates directly to the solid wood framing.
- The Remodeler’s Shortcut: If the wall is strictly non-load-bearing, you can install the plates directly over the existing drywall. If you choose this route, apply a bead of construction adhesive behind the plate and use 3-inch Grabber screws to secure the plates through the drywall into the underlying joists and studs.
- Subfloor Attachment: If you are attaching the bottom plate (soleplate) to a wood subfloor, you can secure it directly using Grabber wood screws or 16d nails. If you are mounting to a concrete basement floor, you must use a powder-actuated tool or masonry anchors to secure the plate.
For a deeper look at planning and laying out DIY wall projects, review the manufacturer guidelines in Do-It-Yourself Wall Partitions.
Framing the Plates and Studs
Once your layout lines are marked, it is time to cut your plates and studs.
Measure the height from the floor to the ceiling in several spots along your layout line. Ceilings are rarely perfectly level, so use the shortest measurement. Subtract the combined thickness of your top plate and soleplate (which is 3 inches total for standard 1.5-inch thick 2×4 lumber) to find your exact stud length.
Lay your top plate and soleplate side-by-side on the floor. Use a framing square to mark your stud spacing (16″ or 24″ o.c.) across both plates simultaneously. This ensures that when you stand the wall up, your studs will be perfectly plumb.
We highly recommend framing your wall on the floor and lifting it into place. When assembling the frame, keep the bottom soleplate continuous across any planned door openings. Leaving the soleplate intact keeps the bottom of the wall perfectly rigid and square while you lift and secure it. Once the wall is fastened to the floor and ceiling, simply use a hand saw to cut out the section of the soleplate within the door opening.
Framing Openings: Doors and Windows in Partition Walls
Framing a rough opening for a door or window requires a specific structural anatomy to ensure the opening remains square and does not sag over time.
When we frame an opening, we use a combination of specialized studs:
- King Studs: Full-height studs running from the soleplate to the top plate on both sides of the opening.
- Jack Studs (Trimmers): Studs nailed directly to the inside of the king studs. They are cut shorter because their sole purpose is to support the horizontal header.
- Header: A thick horizontal beam that spans across the top of the opening, resting directly on top of the jack studs.
- Cripple Studs: Short studs installed between the header and the top plate to maintain our 16-inch spacing pattern.
Key Considerations for Door Openings in Partition Wall Framing
To calculate the rough opening (R.O.) for a pre-hung door, the general rule of thumb is to add 2 inches to the nominal width of the door and 2.5 inches to the nominal height. For example, a standard 30-inch wide by 80-inch tall door requires a rough opening of 32 inches by 82.5 inches.
Even though partition walls are non-load-bearing, we must still install a header over door openings. Without a header, the weight of the drywall and framing above the door can cause the top of the opening to sag, which will pinch the door jamb and prevent the door from opening or closing smoothly. For a standard non-bearing partition wall, a simple header made of two 2x4s sandwiching a piece of 1/2-inch plywood is more than adequate.
Managing Deflection and Avoiding Unintended Load Transfer
One of the most common errors in partition wall framing is building the wall too tight to the underside of the floor or roof framing above.
In modern commercial and multi-family construction, structural floor and roof spans commonly range from 15 to 30 feet. Under normal live loads (furniture, occupants, snow), these long spans are designed to flex. Expected vertical deflections of 1/2 inch to 1 inch are completely normal near the center of these spans.
If you wedge a rigid partition wall tightly beneath a floor joist or roof truss, that flexing joist will press down directly onto your partition wall. Because the partition wall was not engineered to carry structural loads, this unintended load transfer can cause:
- Bowing and buckling of the wall studs.
- Severe cracking in the drywall joints.
- Unintended bending stresses on the bottom chords of roof trusses.
To prevent this, we must decouple the top of the partition wall from the structural framing above using deflection tracks or specialized deflection clips.
A cold-formed steel deflection track is a highly effective hybrid solution for wood partition walls. We install a deep-leg steel runner (such as a 3-5/8 inch track for a 2×4 wood wall) to the underside of the ceiling joists. The wood studs are cut slightly short, leaving a 1/2-inch to 1-inch deflection gap at the top. The studs are nested inside the deep steel track but are not fastened to it, allowing the overhead structure to deflect downward without transferring any weight to the partition wall.
For more details on selecting the right clips and hardware, check out The Ultimate Guide to Metal Framing Clips and refer to the Ultrawall Technical Details.
Detailing Parallel vs. Perpendicular Joist Connections
How we secure the top plate of our partition wall depends entirely on whether the new wall runs perpendicular or parallel to the overhead joists:
- Perpendicular Walls: If the wall runs perpendicular to the joists, you can fasten the top plate directly to the underside of every joist it crosses using 3-inch Grabber screws. If deflection is an issue, use deflection clips at each intersection to allow vertical movement while maintaining lateral stability.
- Parallel Walls: If the wall runs parallel to the joists, it will rarely align perfectly beneath an existing joist. To secure the top plate, you must install 2×4 wood blocking horizontally between the parallel joists. Space this blocking every 24 inches on center, and fasten your top plate directly to the blocking.
Fire-Resistance Ratings and Acoustic Continuity
In multi-family dwellings, townhomes, or commercial spaces, partition walls often serve as fire barriers and acoustic separators between units.
To meet local building codes in Eastern Idaho and Western Wyoming, we must pay close attention to fire-resistance ratings and sound transmission class (STC) ratings:
- Fire-Resistance: To achieve a certified 1-hour or 2-hour fire-resistance rating, we use specialized type-X fire-rated drywall. For commercial projects, IBC Section 603.1 permits fire-retardant-treated wood wall framing in Construction Types I and II for non-bearing partitions with a rating of 2 hours or less.
- Acoustic Continuity: Sound travels easily through wall cavities and solid framing members. To build a quiet room or separate adjacent units, we recommend installing Quietrock EZ Snap acoustic drywall. It features a constrained-layer damping core that significantly reduces sound transmission.
- Sealing the Perimeters: Even the best drywall will fail acoustically if there are air gaps. Always apply a thick bead of acoustic joint sealant around the entire perimeter of the wall (where the plates meet the floor, ceiling, and abutting walls) and around all electrical boxes.
For a deeper look at metal framing alternatives and drywall tricks, read our guide on Studs, Tracks, and Drywall Hacks: Building Your Metal Frame.
Frequently Asked Questions about Partition Wall Framing
Can I use 2×3 studs for partition wall framing?
Yes, by code, you can use 2×3 studs for non-load-bearing interior partition walls, but only if the wall is under 10 feet tall and the studs are spaced 16 inches on center. However, we strongly recommend using 2×4 studs instead. Standard pre-hung door jambs and electrical outlet boxes are manufactured for 2×4 walls and will protrude past the drywall of a 2×3 wall, making trim installation and finishing very difficult.
Should I cut existing drywall to install a partition wall?
While you can technically screw your new wall plates directly over existing drywall using construction adhesive and long Grabber screws, cutting back a small strip of drywall to expose the underlying wood studs and ceiling joists is the best practice. This allows for a direct, wood-to-wood connection, which meets strict local building codes and prevents the new wall joints from cracking over time.
Why is a deflection gap necessary at the top of a partition wall?
A deflection gap prevents structural floor or roof loads from transferring onto your non-load-bearing partition wall. Large floor spans can deflect up to an inch under heavy loads. If there is no gap, the overhead joists will press down on the partition wall, causing drywall cracks, door frame warping, and structural bowing of the wall studs.
Conclusion
Framing a partition wall is a highly rewarding project that allows you to transform your living or working space. By understanding the difference between load-bearing and non-load-bearing walls, using the correct stud dimensions, and planning for deflection and acoustic isolation, you can achieve a professional-grade result.
Whether you are building a new office space in Idaho Falls, a cozy bedroom in Jackson, Wyoming, or a commercial warehouse in Twin Falls, Western Wholesale Supply is here to support you. For over 60 years, our family-owned business has provided contractors and homeowners across Eastern Idaho and Western Wyoming with premier building materials, including drywall, Steel Framing, insulation, and acoustical ceilings.
We proudly stock high-performance brands like CertainTeed ceiling tiles, Quietrock EZ Snap drywall, Durock backer board, and Grabber fasteners. Stop by one of our showrooms today in Idaho Falls, Pocatello, or Twin Falls to pick up the tools and materials you need for your next project!
