

How to Apply Drywall Paper Tape for Smooth, Strong Joints
Spread a thin, even layer of joint compound over a clean seam. Center the paper tape in the wet compound, then run a 6-inch taping knife along it to press out air and excess mud. Leave a thin layer of compound behind the tape so it bonds to the drywall. Once dry, add a wider fill coat and a thin finish coat.
At Western Wholesale Supply, our extensive background supplying commercial and residential building materials to contractors shapes this practical guide to applying drywall paper tape.
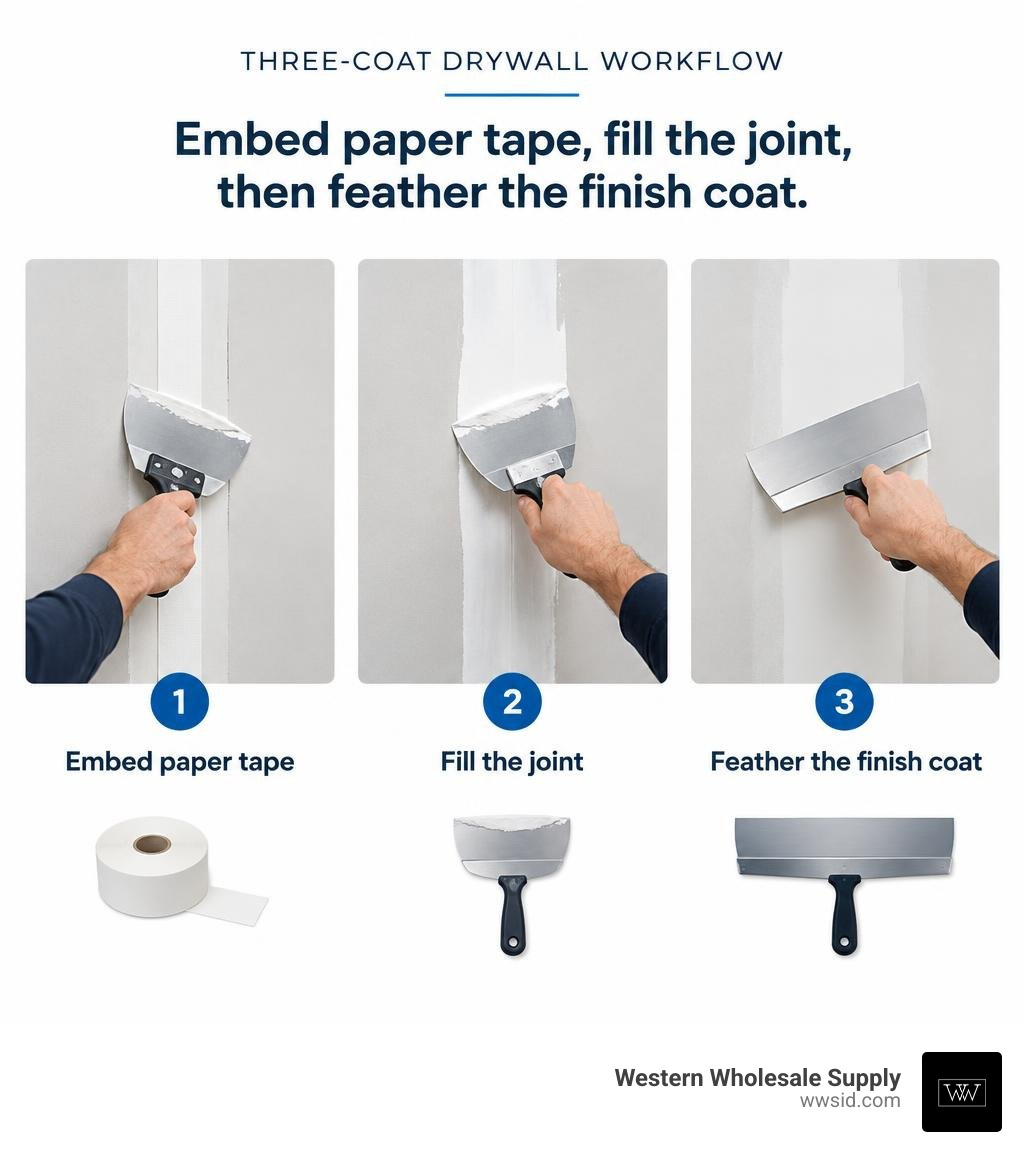
Applying drywall paper tape terms made easy:
Choosing Materials: Paper Tape vs. Fiberglass Mesh Tape
Achieving seamless, durable drywall joints requires selecting the right reinforcement material. When you finish interior wallboard, the joint tape must bridge the structural gap between adjacent panels, absorb seasonal building movement, and resist cracking over time.
Drywall paper tape remains the gold standard for residential and commercial construction. Manufactured with cross-directional fibers, paper tape provides high tensile strength in both longitudinal and lateral directions. It does not stretch under load, which gives it superior crack resistance compared to standard self-adhesive fiberglass mesh tape.
Fiberglass mesh tape features open-weave fiberglass strands coated with a pressure-sensitive adhesive. While mesh tape eliminates the need to apply a bedding coat of wet compound before sticking it to the wall, fiberglass possesses inherent elasticity. Under building deflection or shear stress, mesh can stretch slightly, transferring movement to standard drying-type joint compound and resulting in hairline cracks. If you choose to use fiberglass mesh tape, you must bed and fill it with a chemical-setting compound (“hot mud”) rather than standard air-drying mud.
| Performance Factor | Paper Joint Tape | Self-Adhesive Fiberglass Mesh Tape |
|---|---|---|
| Tensile Strength | High (cross-fibered resistance) | Moderate (flexible fibers) |
| Crack Resistance | Superior across all joint types | Moderate (best for small patches) |
| Compound Compatibility | All-purpose drying & setting compounds | Requires chemical-setting compound |
| Inside Corner Performance | Excellent (factory center crease) | Poor (difficult to hold a crisp 90° angle) |
| Application Method | Embedded in wet 1/8″ compound bed | Self-adhered directly to dry board |
According to technical specifications for ASTM joint tape physical properties, high-quality paper tape is engineered with buffed surfaces for mechanical adhesion and a positive center crease for precise corner alignment. Selecting the right mud is equally vital; consult our guide to choosing joint compounds to match your tape with drying or setting formulas.
Essential Tools and Joint Compounds for the Job
Professional taping demands dependable tools and quality compounds. At Western Wholesale Supply, our showrooms feature professional-grade tools designed to handle continuous daily use.
To tackle a complete taping job, gather the following supplies:
- Taping Knives: A flexible 6-inch knife for embedding tape, followed by 10-inch and 12-inch blades for subsequent coats. We carry industry-leading hand tools from Hyde, USG Sheetrock Tools, Columbia Taping Tools, and Marshalltown.
- Mud Pan: A 12-inch or 14-inch stainless steel mud pan with clean, straight wiping edges.
- Joint Compounds: Standard all-purpose joint compound (containing high vinyl adhesive polymers for embedding paper tape) or setting-type compounds (20, 45, or 90-minute formulas for rapid pre-filling).
- Corner Tools: An inside corner trowel or specialized corner flushers for sharp, consistent 90-degree transitions.
- Fasteners & Substrates: Reliable Grabber or Brighton Best drywall screws to ensure boards remain tight against framing without movement.
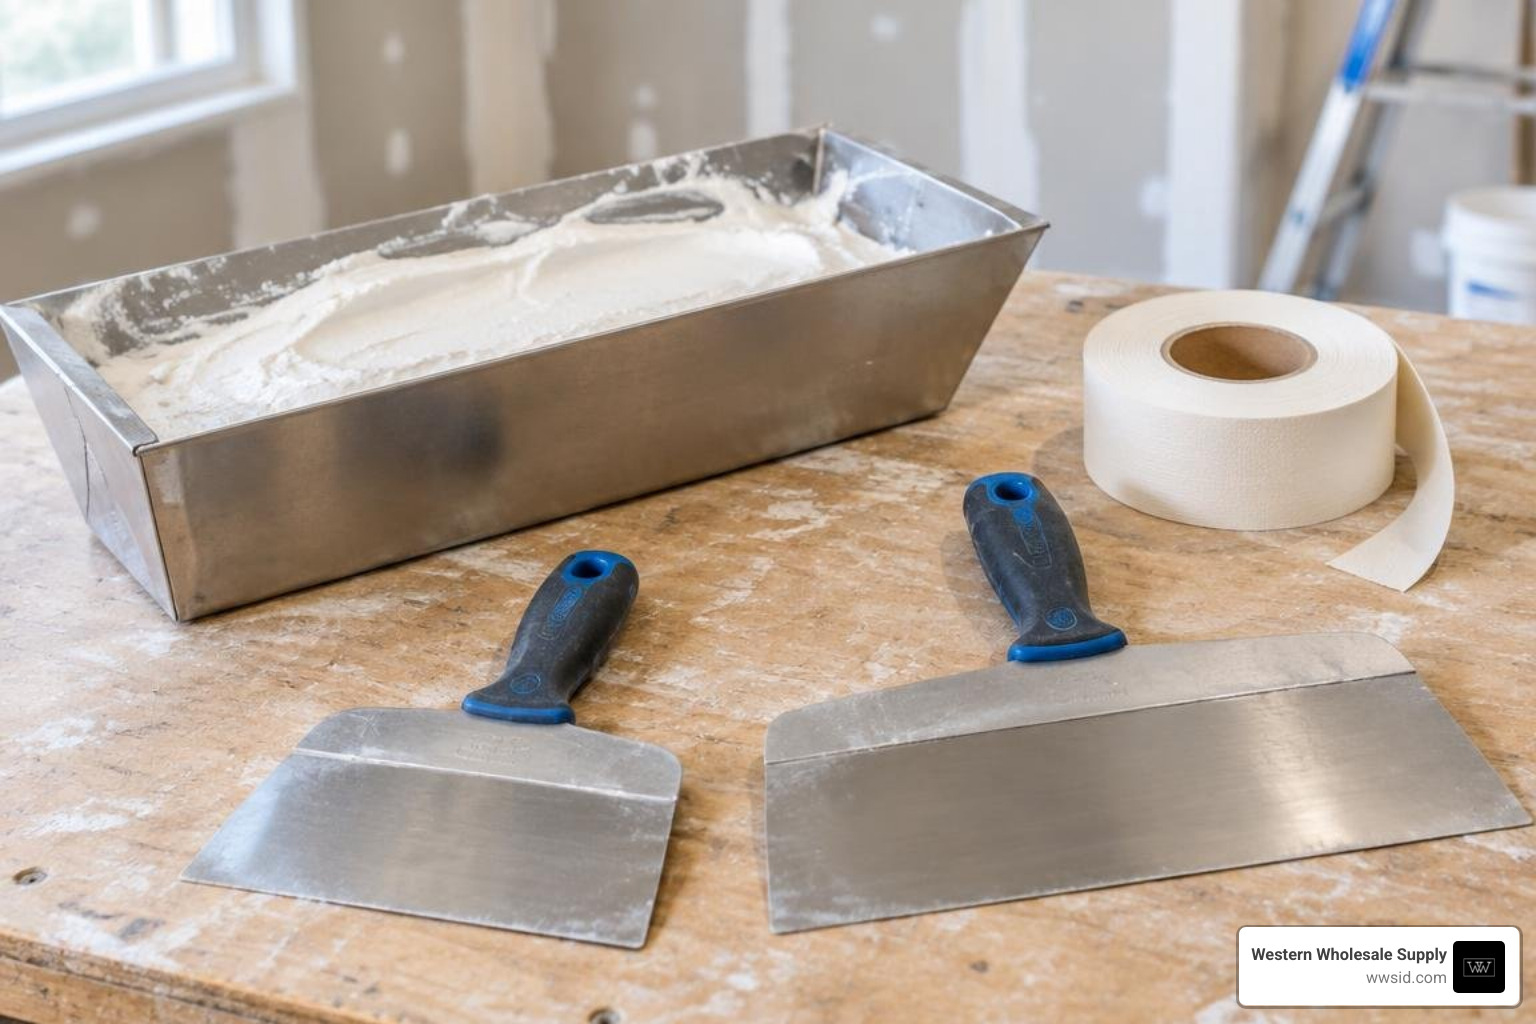
Review our drywall finishing supplies overview and hand taping knife fundamentals to choose the right blade flexibility and grip style for your hands.
Step-by-Step Guide to Applying Drywall Paper Tape on Seams and Corners
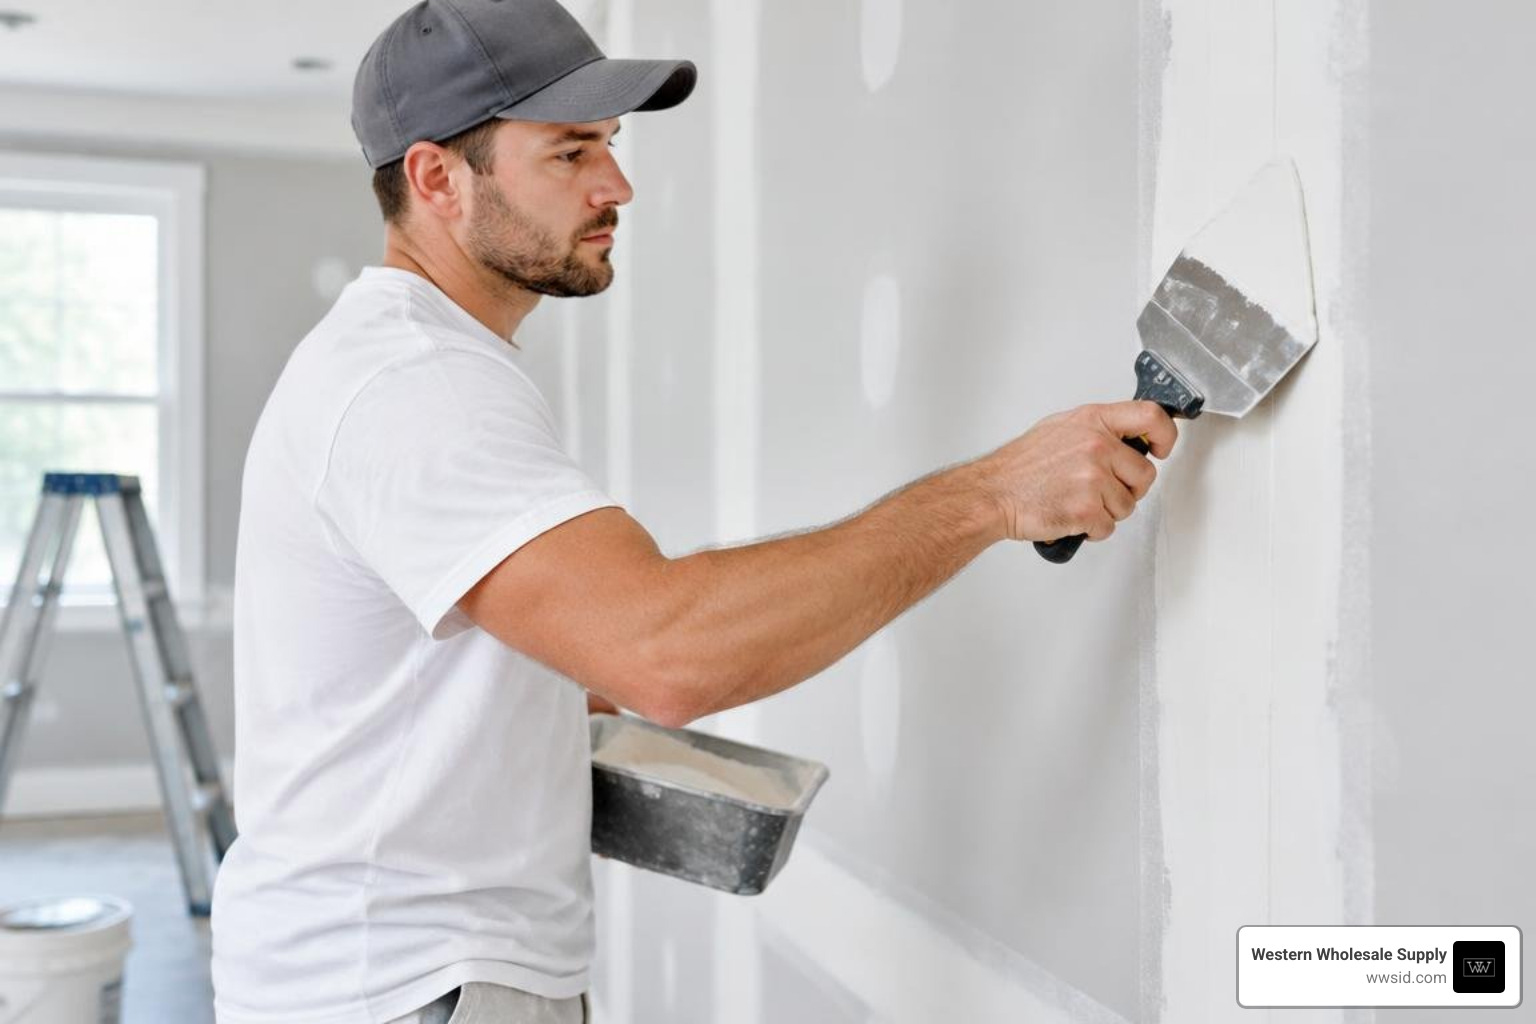
The process of bedding paper tape bridges the physical gap between gypsum panels, creating an integrated, reinforced assembly. Success relies on balancing compound moisture, knife pressure, and bed thickness.
Preparation and Mud Consistency for Applying Drywall Paper Tape
Before applying mud, prepare your drywall surface:
- Inspect Fasteners: Run a clean 6-inch taping knife flat across every screw head. If the blade clicks against metal, tighten the screw slightly below the paper face without tearing the outer drywall liner.
- Pre-Fill Gaps: Cut away any loose gypsum core or shredded face paper. If seams or corner gaps exceed 1/8 inch, pack them tightly with a setting-type compound and scrape them flush. Allow setting mud to firm up before taping.
- Mix the Bedding Compound: Premixed all-purpose compound straight from the bucket is typically too thick for embedding tape. Transfer mud to your pan or mixing bucket and add clean water in small increments. Mix thoroughly until the compound reaches a smooth, creamy “mayonnaise” or thick sour cream consistency. Learn more about mixing techniques in our guide on how to apply joint compound properly.
Proper mud consistency allows moisture and binding polymers to saturate the paper tape fibers immediately upon contact, creating a permanent mechanical bond.
Embedding Flat Seams and Butt Joints
Follow this sequence for embedding paper tape on flat factory-tapered seams and non-tapered butt joints:
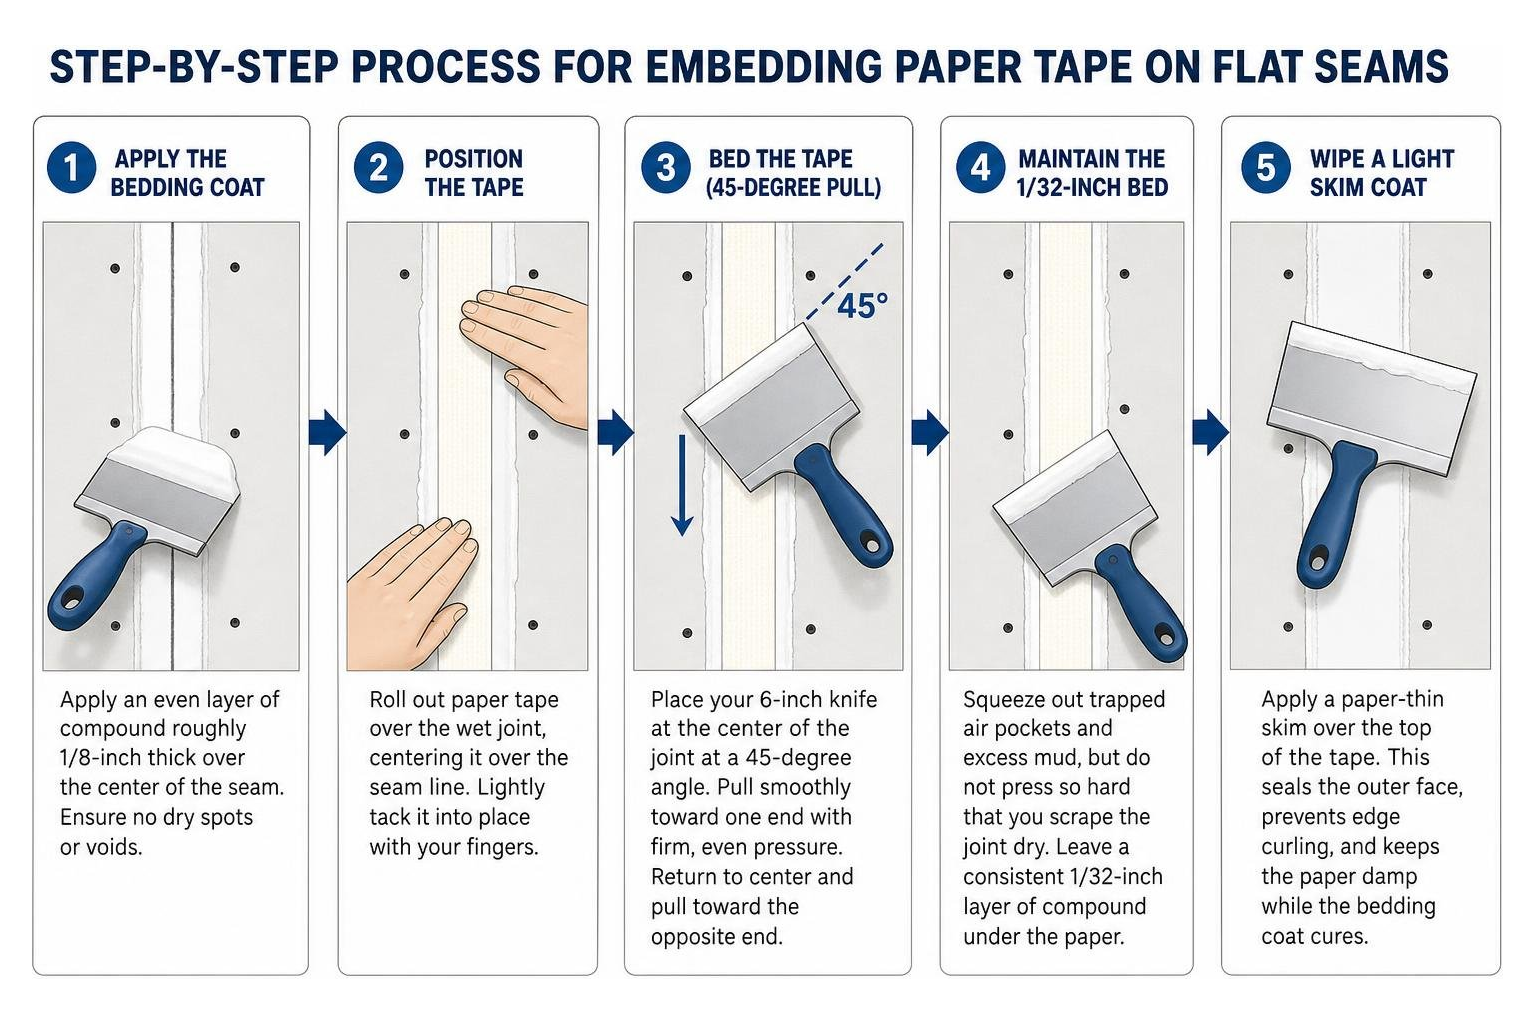
- Apply the Bedding Coat: Using your 6-inch flexible knife, apply an even layer of compound roughly 1/8-inch thick over the center of the seam. Ensure there are no dry spots or voids along the entire run.
- Position the Tape: Roll out paper tape over the wet joint, centering it over the seam line. Lightly tack it into place with your fingers.
- Bed the Tape (The 45-Degree Pull): Place your 6-inch knife at the center of the joint at a 45-degree angle to the wall. Pull smoothly toward one end with firm, even pressure. Return to the center and pull toward the opposite end.
- Maintain the 1/32-Inch Bed: Squeeze out trapped air pockets and excess mud, but do not press so hard that you scrape the joint dry. You must leave a consistent 1/32-inch layer of compound underneath the paper to prevent tape delamination.
- Wipe a Light Skim Coat: Take the excess compound gathered on your blade and apply a paper-thin skim over the top of the tape. This seals the outer face of the paper, prevents edge curling, and keeps the paper damp while the bedding coat cures.
Pro Techniques for Applying Drywall Paper Tape to Inside Corners
Inside corners require clean alignment to avoid crooked transitions or torn paper:
- Pre-Fold Along the Crease: Cut your paper tape to length. Fold the tape down its center factory crease with the textured side facing inward toward the corner.
- Butter Both Sides: Using your 6-inch knife, apply a generous, uniform layer of compound to both walls forming the corner angle.
- Seat the Crease: Press the folded tape firmly into the vertex of the corner using your fingertips, starting from the top and working down.
- Bed One Side at a Time: Position your knife flat against one wall face and draw downward, smoothing the tape from the corner vertex outward. Repeat the stroke on the adjoining wall.
- Taper the Edge: Smooth the outer edges of the paper into the surrounding wallboard, keeping excess mud buildup out of the internal corner angle.
For advanced inside corner systems and high-traffic outside corner trims, check out our guide to corner trims and joint treatments and explore paper joint tape application best practices.
The Professional Three-Coat Sequence and Finishing Levels
A durable, seamless wall requires three distinct coats of compound, allowing each layer to dry completely before applying the next.
- Coat 1 (Bedding Coat): The foundation coat applied with a 6-inch knife to bed the paper tape securely into the drywall recess.
- Coat 2 (Fill Coat): Applied with a 10-inch taping knife once the bedding coat has fully cured. Thin your compound slightly to a smooth spreading consistency. Spread mud across the seam to conceal the tape texture and widen the joint by 2 to 3 inches on each side.
- Coat 3 (Finish / Feather Coat): Applied with a 12-inch or 14-inch knife or trowel. Thin the compound to a creamy consistency. Spread a thin layer and feather the outer edges out 12 to 14 inches total, creating an imperceptible crown that disappears across the wall. Master these wide feathering sweeps with our advanced 12-inch taping knife methods.
Understanding Drywall Finish Levels (Level 4 vs. Level 5)
- Level 4 Finish: Standard for commercial offices and residential living spaces receiving flat, eggshell, or light-textured paints. It includes embedded tape on all joints, fasteners covered with three coats, and joints feathered smoothly.
- Level 5 Finish: Required where walls face critical lighting (such as severe raking sunlight from large windows) or receive gloss/semi-gloss enamel paints. Level 5 includes everything in Level 4 plus a complete skim coat of thinned compound over the entire gypsum board surface, equalizing suction and eliminating texture differences between the paper face and mudded joints.
Sanding Techniques and Common Taping Mistakes to Avoid
Sand only after the third coat is fully cured. Sanding between intermediate coats creates airborne dust and risks scuffing the paper tape. Instead, run a clean 6-inch knife over the dry joint between coats to scrape away high ridges, burrs, and lap marks.
Final Sanding Best Practices
- Use Pole and Hand Sanders: Use 120-grit sandpaper or mesh screen on a pole sander for broad, flat areas, followed by a fine 150-grit sanding sponge around edges and internal corners.
- Avoid Over-Sanding: Do not sand down into the embedded paper tape. If you expose raw paper fibers (creating “fuzz”), apply a tight skim of finish mud over the area before priming.
- Inspect with Raking Light: Hold a high-output work light close to the wall, casting a sharp, low-angle beam across the seams. This highlights shadows from minor hollows, ridges, or pinholes, allowing targeted touch-ups before painting.
Common Mistakes and How to Avoid Them
- Starving the Tape: Squeezing too much mud out during the bedding pass leaves dry spots that cause bubbling later. Always maintain a 1/32-inch bed behind the tape.
- Recoating Wet Mud: Applying a fill coat over partially dry bedding compound traps moisture, leading to cracking, delayed shrinkage, and bond failure.
- Feathering Too Narrowly: Stopping the fill coat within 4 inches of the seam creates an obvious hump under gloss paint. Widen each successive coat to blend the joint smoothly into the surrounding board.
Frequently Asked Questions About Applying Paper Tape
Why is my paper tape bubbling after the mud dries?
Bubbles indicate that the paper tape did not bond to the drywall. This occurs when the bedding compound was too dry, the knife was pressed too hard (squeezing out all mud), or dry spots were left along the seam. To fix a bubble, slice open the blistered paper with a sharp utility knife, remove the loose section, work fresh compound behind and over the area, and bed a small repair patch.
Should paper tape be wet before applying?
In standard indoor conditions, dry paper tape bonds reliably to wet, properly thinned all-purpose compound. However, when working in hot, arid conditions (such as dry summer days in Eastern Idaho or high-altitude regions of Western Wyoming), running paper tape quickly through a clean water bucket prevents dry gypsum paper from flash-drying the mud before it cures. Dampen the tape—never leave it soaking wet.
How long should drywall compound dry between coats?
Standard drying-type joint compound requires approximately 24 hours to cure at 70°F (21°C) and 50% relative humidity. In cool or humid environments, drying can take 36 to 48 hours. If you need to apply multiple coats in a single day, use a chemical-setting compound (like 45-minute or 90-minute hot mud) for the pre-fill and bedding coats.
Conclusion
Mastering drywall paper tape application comes down to proper surface preparation, consistent mud viscosity, and leaving a uniform 1/32-inch bedding layer under the tape. Following a methodical three-coat sequence allows you to achieve durable, crack-free Level 4 and Level 5 finishes across any residential or commercial project.
At Western Wholesale Supply, we support contractors and builders across Eastern Idaho and Western Wyoming with premier drywall, steel framing, insulation, acoustical ceilings, and finishing supplies. Whether you are outfitting a jobsite in Idaho Falls, Pocatello, Jackson, Rexburg, Twin Falls, or surrounding communities, visit our showrooms or contact our team to explore professional joint compounds and drywall materials and schedule reliable, on-time delivery directly to your site.
