

Choose the Right Joint Compound for Wall Repairs
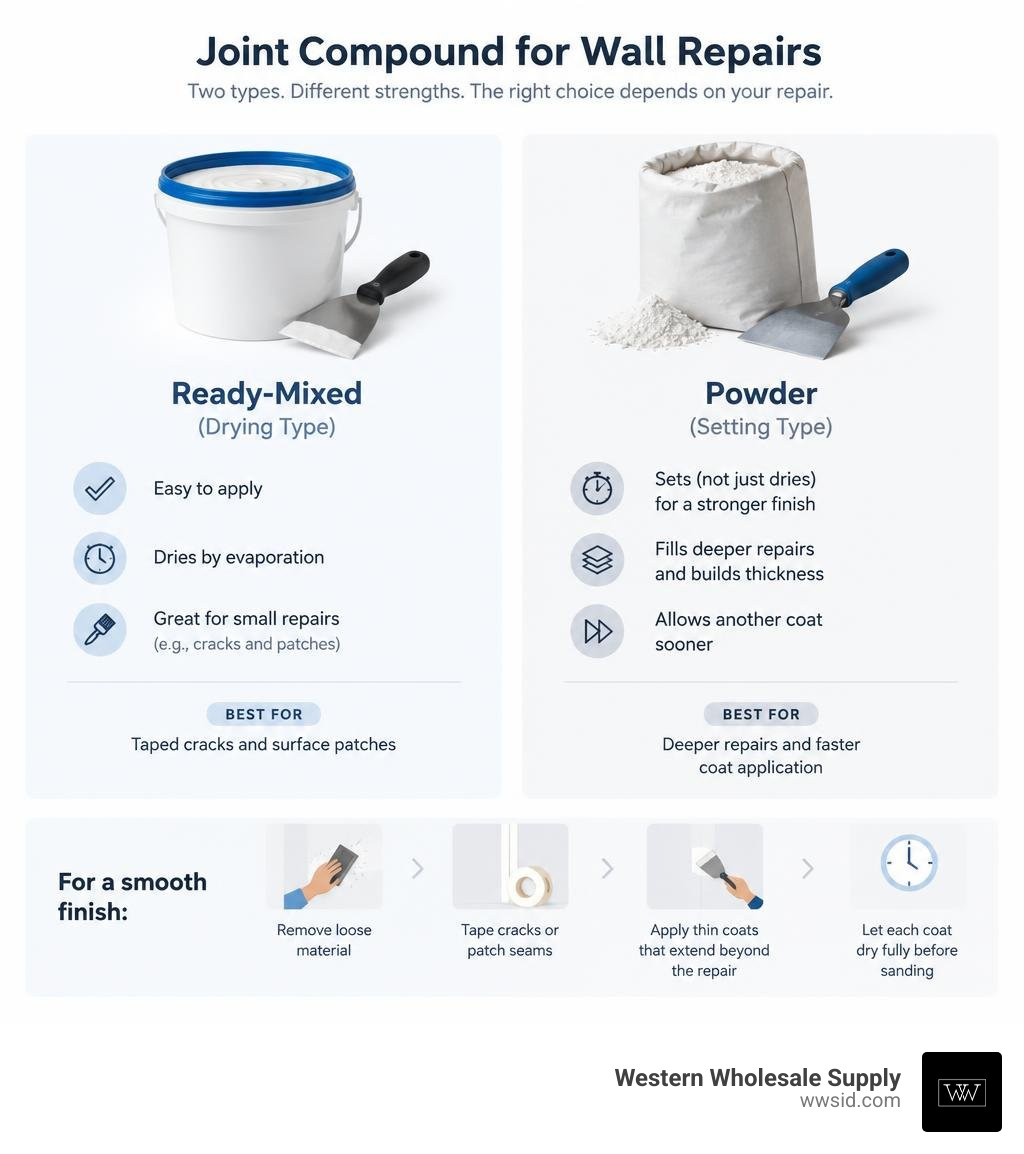
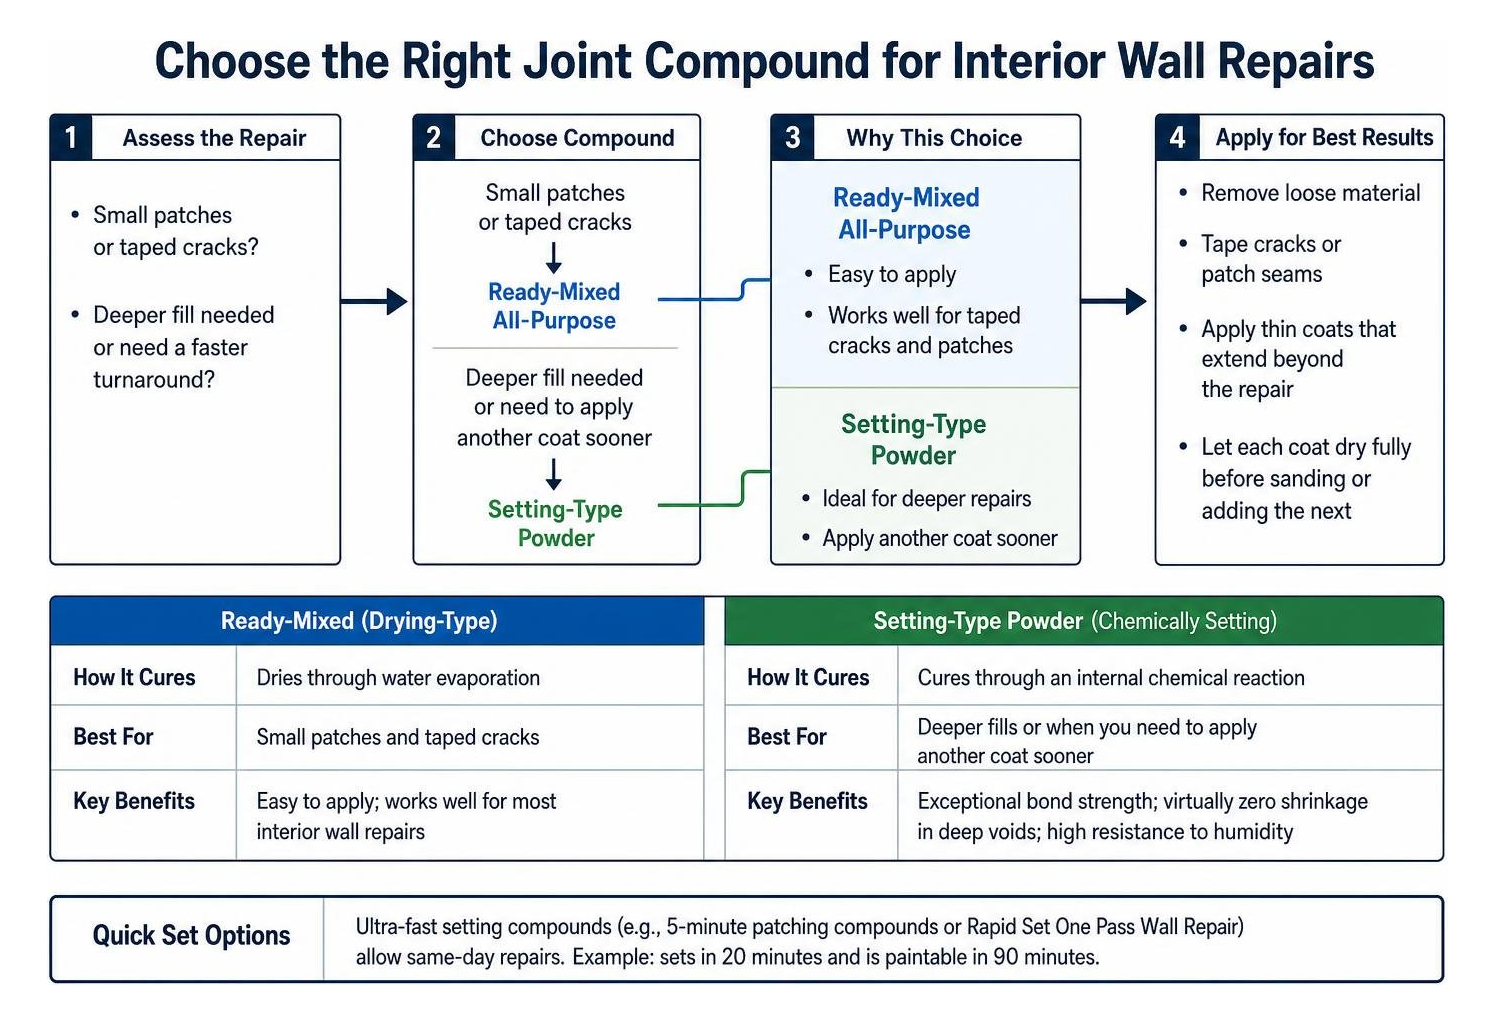
For most small interior wall repairs, choose ready-mixed all-purpose joint compound: it is easy to apply and works well for taped cracks and patches. Choose setting-type powder when you need to fill a deeper repair or apply another coat sooner. For a smooth finish, remove loose material, tape cracks or patch seams, and apply thin coats that extend beyond the repair. Let each coat dry fully before sanding or adding the next.
At Western Wholesale Supply, we are a third-generation building materials supplier serving drywall contractors and builders. Our experience with joint compound for wall repairs comes from helping crews choose materials that fit the job and keep work moving.
Joint compound for wall repairs glossary:
Types of Joint Compound for Wall Repairs: Choosing the Right Mud
Understanding the fundamental chemistry of drywall mud saves hours of scraping and sanding. Joint compounds fall into two distinct categories: drying-type (ready-mixed) formulas and setting-type (chemically hardening powder) compounds. Selecting the proper product ensures long-term structural integrity and compliance with ASTM C475 standards for gypsum panel finishing. When tackling a remodel or minor repair, choosing the right drywall compound prevents issues like shrinkage, cracking, and bond failure.
Setting-Type Powder Compounds vs. Ready-Mixed Formulas
Ready-mixed mud dries through simple water evaporation. Setting-type joint compound, often referred to as “hot mud,” cures through an internal chemical reaction similar to plaster or concrete.
Setting compounds come in dry powder bags with predetermined working windows. For example, Sheetrock Easy Sand 90 provides a 90-minute working time and hardens within 95 to 120 minutes. Ultra-fast formulas, such as 5-minute patching compounds or Rapid Set One Pass Wall Repair (which sets in 20 minutes and is paintable in 90 minutes), allow same-day repairs. Using quick set compounds gives you exceptional bond strength, virtually zero shrinkage in deep voids, and high resistance to humidity.
Ready-mixed compounds offer convenience directly from the pail, requiring minimal mixing. However, they rely entirely on ambient air temperature and humidity to dry, meaning thick layers will shrink and crack if applied too heavily in a single pass.
All-Purpose, Midweight, and UltraLightweight Compounds
Ready-mixed formulas are categorized by density and weight:
- All-Purpose Joint Compound: The standard conventional-weight formula. It contains higher levels of vinyl binders, providing superior adhesive strength for embedding paper tape. It yields a hard finish, offers coverage of roughly 10 gallons per 1,000 square feet, and has a low VOC content of 2 g/L with GREENGUARD Gold certification.
- Midweight Joint Compound: Formulated to weigh up to 15% less than conventional muds. It provides high bond strength with reduced drag on the knife and lower shrinkage, delivering coverage of about 9.4 gallons per 1,000 square feet while maintaining a 2 g/L VOC rating.
- UltraLightweight Joint Compound: Weighs up to 40% less than conventional compounds. As outlined in our lightweight drywall mud guide, this featherweight formula reduces hand fatigue during large skim-coating jobs, pulls effortlessly, and cuts sanding time significantly while meeting ASTM C475 specifications.
| Compound Type | Formulation / Base | Weight Comparison | Drying / Curing Mechanism | Typical Coverage (per 1,000 sq. ft.) | Best Used For |
|---|---|---|---|---|---|
| All-Purpose | Ready-Mixed Vinyl | Baseline (Conventional) | Air evaporation (~24 hrs) | ~10.0 Gallons | Embedding tape, first coats, robust patching |
| Midweight | Ready-Mixed Hybrid | Up to 15% lighter | Air evaporation (~24 hrs) | ~9.4 Gallons | Taping, intermediate coats, skim coating |
| UltraLightweight | Ready-Mixed Lightweight | Up to 40% lighter | Air evaporation (~24 hrs) | ~9.0–10.0 Gallons | Second/third coats, large-area skim coats |
| Setting-Type (Hot Mud) | Dry Powder (Gypsum Base) | Up to 25% lighter | Chemical crystallization (20–120 mins) | Varies by void depth | Deep holes, pre-filling gaps, bathroom repairs |
Selecting the Best Joint Compound for Wall Repairs by Damage Size
Different repairs require specific compound characteristics:
- Stress Cracks & Moving Seams: For cracks subject to structural vibration or seasonal shifting, evaluate our formula selection for moving joints. Always embed high-tensile paper tape or set fiberglass mesh tape in a base layer of setting-type compound.
- Anchor Holes and Dents (< 1/8 Inch): Small fastener holes can be filled directly with all-purpose ready-mix or lightweight spackle in a single flush pass.
- Gaps and Cutouts (> 1/8 Inch): The maximum gap recommended for standard drying-type compound is 1/8 inch. Any void, drywall cutout, or damaged core wider or deeper than 1/8 inch must be pre-filled with a low-shrink setting-type compound before applying surface finishing coats.
Essential Tools and Surface Preparation Before Patching
Achieving a flat, invisible repair requires proper surface preparation and professional-grade tools.
- Clear Loose Debris: Cut away torn face paper, crumbling gypsum core, and loose plaster using a sharp utility knife.
- V-Groove Scoring: Carve a shallow “V” profile along cracks to widen the surface contact area for the compound.
- Firm the Substrate: Ensure fasteners are driven just below the panel surface without puncturing the paper face. When installing backing or securing new drywall sections, use durable fasteners like Grabber or Brighton Best.
- Wipe Down: Clean the repair area with a slightly damp sponge to eliminate gypsum dust that could compromise adhesion.
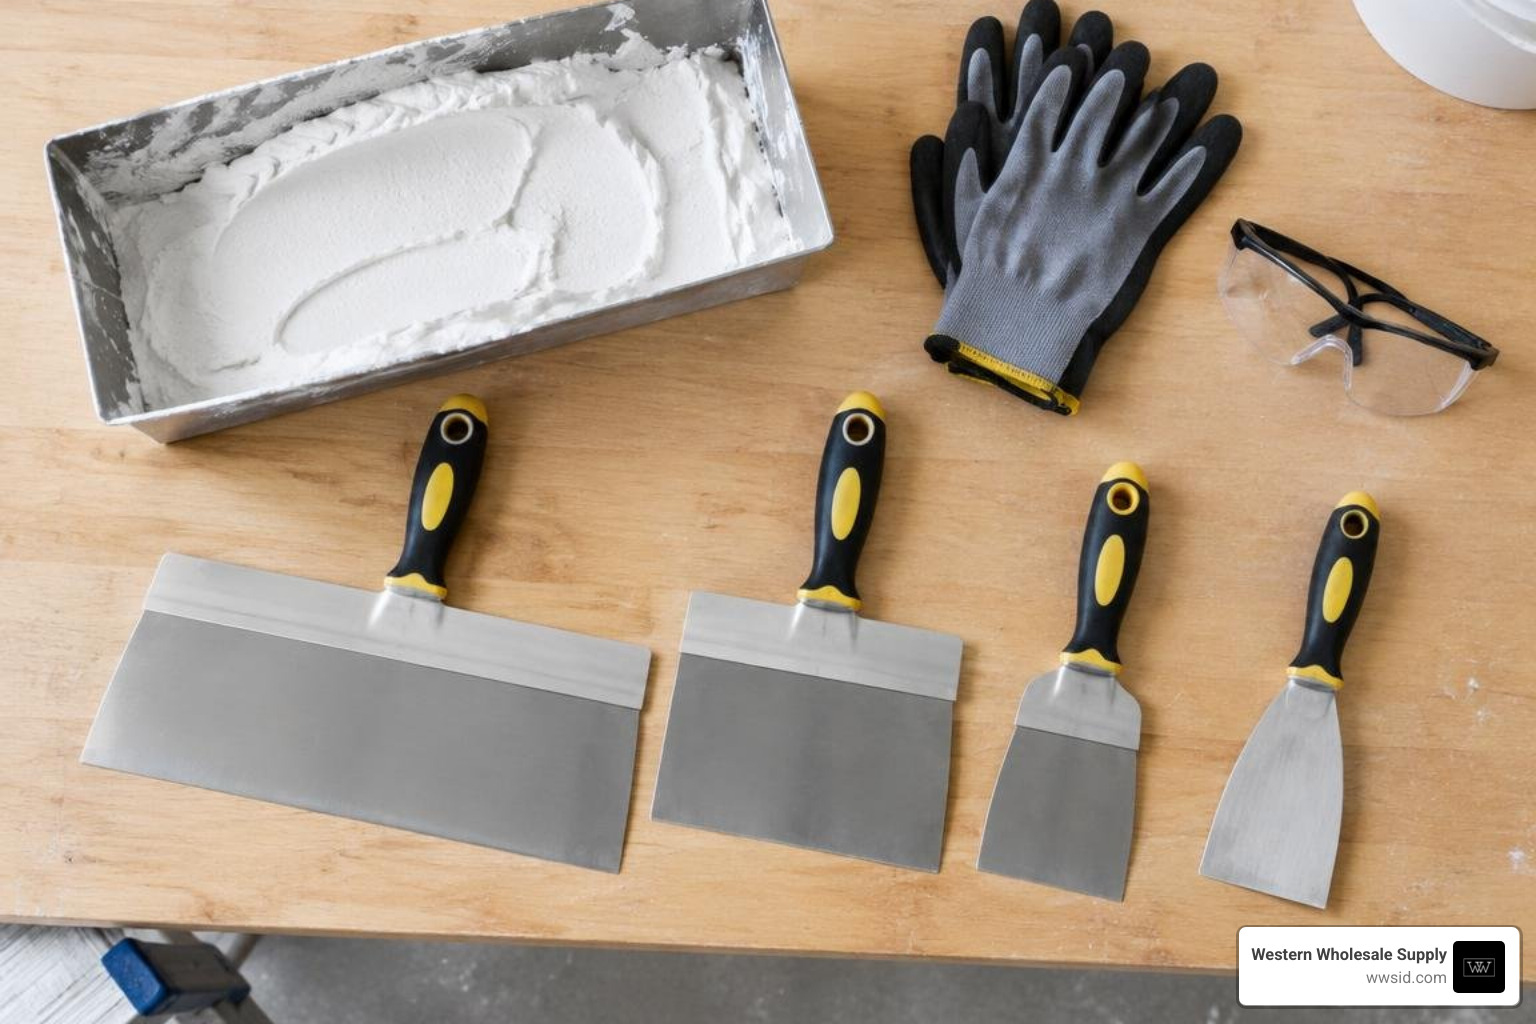
For smooth spreading, equip yourself with professional taping tools. In our showrooms, we carry industry-standard taping knives and mud pans from premier brands: Hyde, USG Sheetrock Tools, Columbia Taping Tools, and Marshalltown. Review The Definitive Guide to Drywall Finishing Supplies to assemble the right kit—including 4-inch, 6-inch, 10-inch, and 12-inch flexible stainless or carbon steel taping knives and a sturdy mud pan.
Step-by-Step Guide: How to Apply Joint Compound for Smooth Wall Patches
Applying drywall mud successfully relies on applying multiple thin, feathered coats rather than piling on a single thick layer. For foundational guidance, check our walkthrough on applying joint compound properly.
Embedding Tape and First Coat Application
- Apply the Base Bed: Using a 4-inch or 6-inch Hyde or Marshalltown taping knife, spread an even layer of all-purpose mud or mixed setting compound over the seam or crack. Keep the compound bed roughly 1/32-inch thick beneath the tape line.
- Center and Bed the Tape: Place paper joint tape directly over the centerline of the repair.
- Embed Firmly: Hold your knife at a 45-degree angle and draw it along the tape with moderate, even pressure. Squeeze out excess mud while leaving sufficient compound beneath to guarantee a permanent bond. This step prevents dry spots and blistering. If using self-adhesive fiberglass mesh tape, always use a setting-type compound (like Easy Sand) for the first coat, as drying-type mud lacks the tensile shear strength needed to prevent mesh cracking.
Feathering Second and Third Finishing Coats
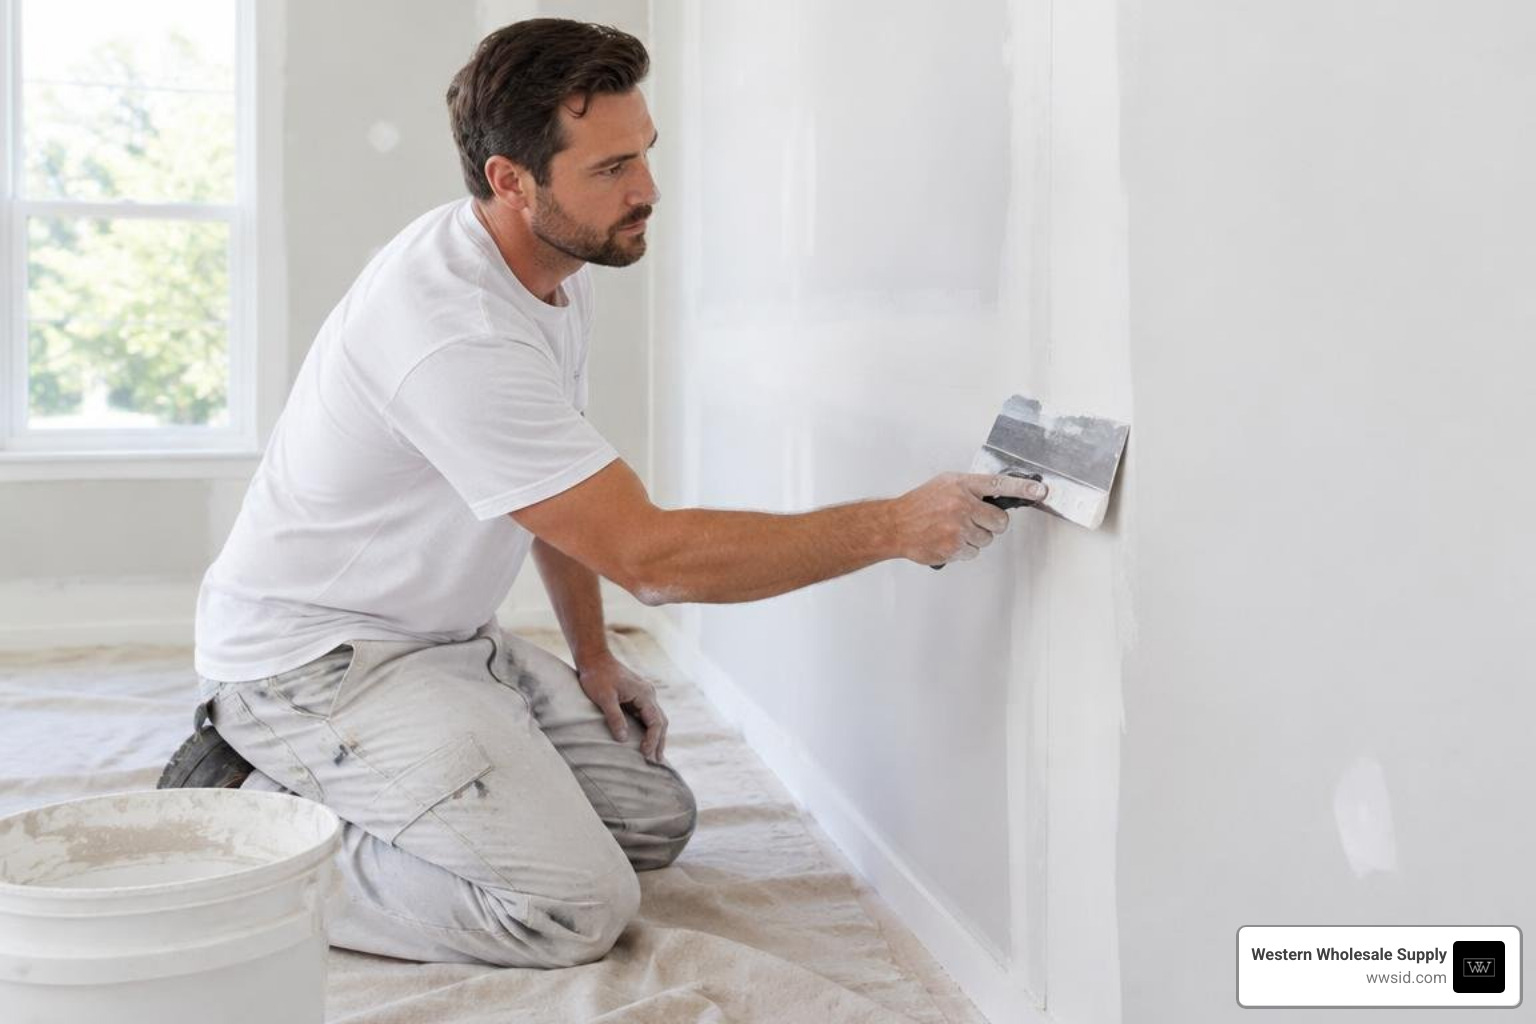
- Scrape Ridges: Once the first coat cures completely, pass your taping knife flat over the patch to knock down high spots or ridges. Do not gouge the paper.
- Apply the Fill Coat: Using an 8-inch or 10-inch USG Sheetrock Tools or Columbia taping knife, apply midweight or all-purpose compound over the patch, extending the edges roughly 2 inches beyond the boundary of the initial coat. Feather the perimeter down to the existing wall plane.
- Apply the Final Skim Coat: Switch to a 12-inch finishing blade. Apply a thin skim coat of UltraLightweight or midweight compound, feathering the edges an additional 2 inches outward. This gradual taper tricks the eye by blending the repair across a broad, flat plane. Refer to the USG Sheetrock All Purpose Joint Compound Submittal Sheet for technical finishing standards.
Drying Times, Proper Storage, and Sanding Safety
Drying-type joint compounds rely on environmental evaporation. At standard conditions of 70°F (21°C) and 70% relative humidity, ready-mix compound takes roughly 24 hours per coat to dry completely. Lower ambient temperatures or elevated humidity levels will extend drying times. Never apply joint compound in temperatures below 55°F (13°C), as cold damp air prevents proper binder coalescence and causes cracking. For time-sensitive commercial jobs, explore professional 90-minute mud practices to keep projects moving.
Proper Storage Methods for Leftover Ready-Mix Mud
Properly stored ready-mixed joint compound has a shelf life of up to nine months from its manufacture date. To keep an opened pail fresh:
- Scrape down all compound from the inside bucket walls and lid using a clean putty knife.
- Level the top surface of the mud in the pail.
- Pour roughly 1/2 inch of clean, potable water over the surface to form an airtight moisture seal.
- Fasten the bucket lid tightly.
- When ready to reuse, carefully pour off the standing water—do not mix it in—and stir the compound thoroughly.
- Store buckets between 55°F and 95°F (13°C to 35°C), away from direct sunlight. If the compound freezes, let it thaw completely at room temperature before remixing.
Dust Control and Safe Sanding Techniques
Sanding joint compound produces fine gypsum and calcium carbonate particulate. Protect your jobsite and lungs with these practices:
- Personal Protective Equipment (PPE): Wear safety glasses and a NIOSH-approved particulate respirator (N95 or better).
- Abrasive Selection: Sand intermediate coats with 120-grit drywall sanding mesh or screens. For the final coat, use fine 220-grit sandpaper to eliminate micro-scratches.
- Dust Management: Use vacuum-shrouded sanders to capture dust at the source, or use a damp, fine-pore wet-sanding sponge on smaller patches to smooth edges without generating airborne dust.
- Surface Sealing: Always apply a dedicated, high-solids drywall primer/sealer over repaired areas before painting to avoid flash marks or uneven sheen.
Frequently Asked Questions About Drywall Repairs
Can You Use Exterior or Bathroom Joint Compound for Wall Repairs?
Ready-mixed joint compounds should never be used outdoors or in areas directly exposed to moisture. In high-humidity spaces like residential bathrooms, use setting-type compounds (such as Easy Sand) over water-resistant gypsum board or cementitious substrates like Durock. Setting-type compounds chemically lock in place, resist moisture degradation, and provide a stable base in humid environments.
What Is the Difference Between Spackle and Joint Compound?
Spackle is formulated with vinyl or acrylic binders and lightweight fillers designed specifically for quick, non-structural patches in small holes (under 1 to 2 inches). It dries rapidly with minimal shrinkage but lacks the open working time, tensile bonding strength, and smooth feathering capabilities required for structural tape embedding and large-area drywall skim coating.
Why Is My Drywall Joint Compound Cracking or Blistering?
Cracking (check-cracking) typically occurs when ready-mixed mud is applied thicker than 1/8 inch in a single pass or dried too quickly by aggressive direct heat. Blistering under tape happens when insufficient compound was placed in the bedding layer, leaving dry air pockets. To repair a blister, slice through the bubbled tape with a sharp utility knife, press fresh compound behind the slit, and smooth the tape flush.
Conclusion
Mastering interior drywall repairs comes down to matching the right compound formula with proper feathering techniques and reliable tools. Whether you are running a complete room renovation or touching up minor surface damage, choosing between fast-setting powder mud and workable lightweight ready-mix compounds ensures durable, flat walls ready for paint.
Western Wholesale Supply has supported contractors, builders, and property owners across Eastern Idaho and Western Wyoming since 1963. As an independent, veteran-owned, third-generation family business, we supply commercial and residential builds with quality drywall panels, Quietrock EZ Snap acoustic drywall, CertainTeed ceiling systems, Durock cement board, and Grabber fasteners. Visit our showrooms in Idaho Falls, Pocatello, Jackson, and surrounding locations to explore our full selection of joint treatments and trims and pick up professional tools from Hyde, USG Sheetrock Tools, Columbia Taping Tools, and Marshalltown today.
